How to Prepare a Mix for Mastering | Pro Requirements
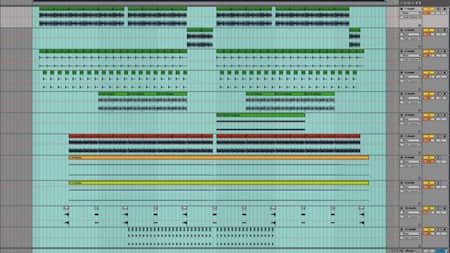
A great master starts with a clean mix. Mastering doesn’t fix problems — it exposes them. If your mix isn’t controlled, it won’t translate on streaming platforms, club systems, or everyday playback systems like phones and cars.
Before sending your track, it must meet these requirements:
- File format: WAV, AIFF, or FLAC
- Bit depth: 24-bit or 32-bit float preferred
- Sample rate: 44.1 kHz – 96 kHz
- Headroom: Leave at least -3 dB. No clipping — ever. Clipped mixes cannot be properly mastered.
- Master bus: No EQ, compression, limiting, or stereo processing
Send your file as a ZIP or RAR archive via any file-sharing service (WeTransfer, DropMeFiles, etc.) and provide the download link.
Send Your TrackReference Tracks Matter
Without references, the result becomes guesswork — and guesswork leads to inconsistent results.
Send 1–2 tracks that represent the sound you’re aiming for — or clearly describe your expectations. This allows us to make precise decisions instead of guessing your intent.
This is the exact process we expect before mastering. Following it ensures consistent, predictable results.
Step 1: Set Export Range
Set start and end points to include the entire track — including reverb tails and delays. Don’t cut the natural decay.
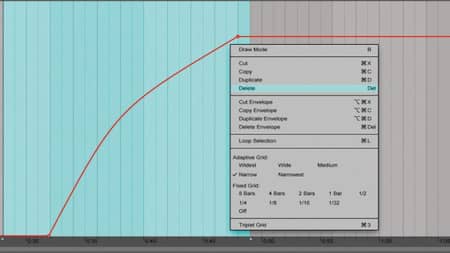
Step 2: Remove Global Fades
Avoid fade-ins or fade-outs on the master channel. These can behave unpredictably during mastering. If needed, export a version with fades separately.
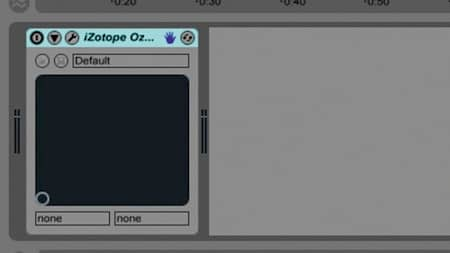
Step 3: Disable Master Bus Processing
Remove all processing from the master bus (EQ, compression, limiting, stereo widening). This ensures full control during mastering.
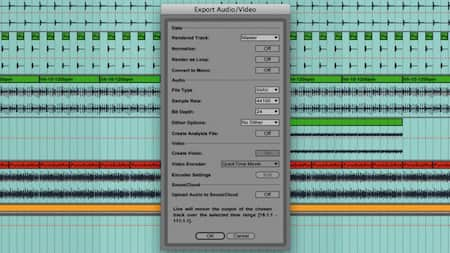
Step 4: Export & Send
Export your final mix in WAV format using your project’s original sample rate. Include reference tracks and any relevant notes to guide the final result.